
July 14, 2026

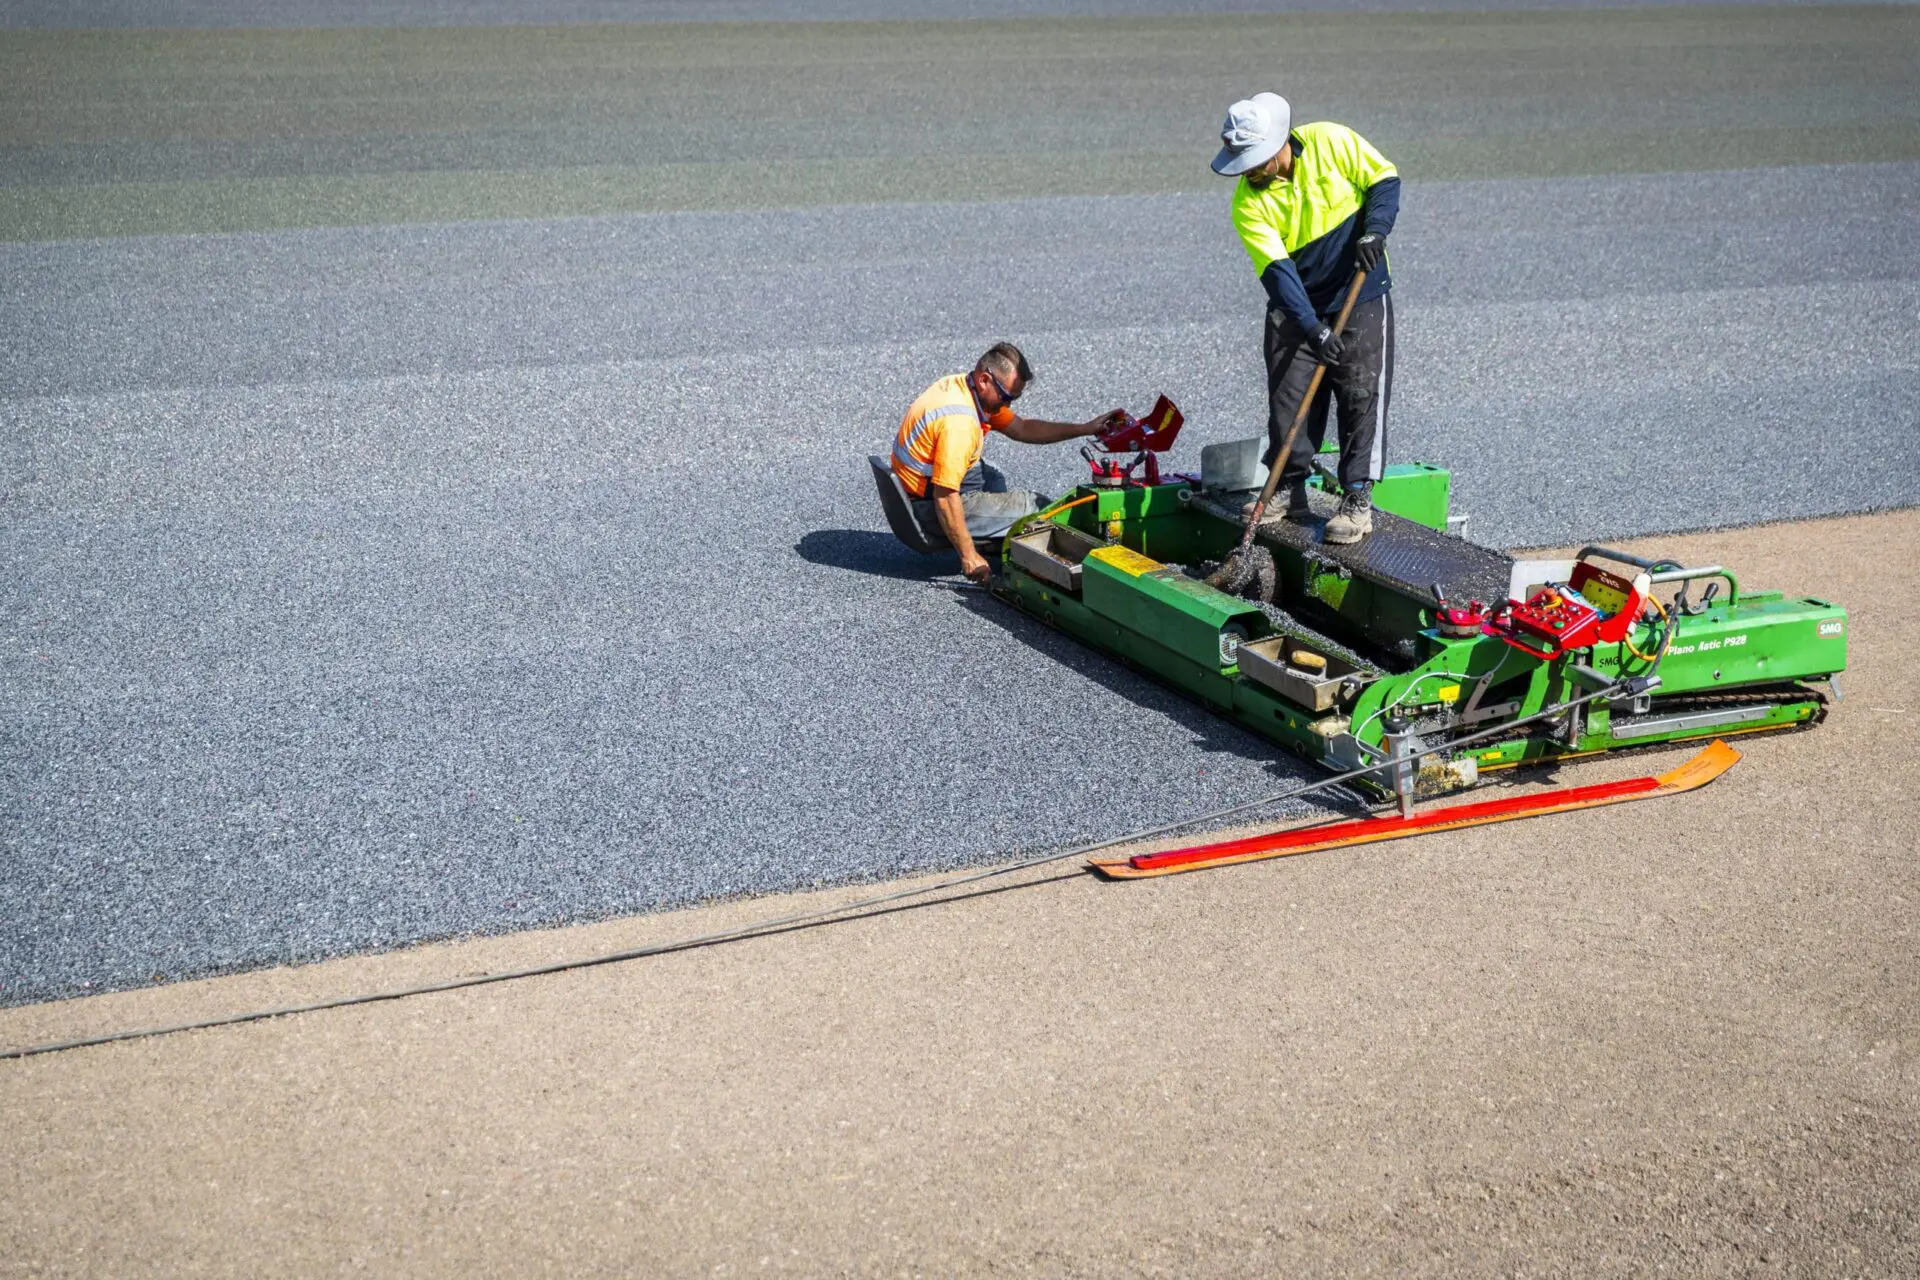
Most homeowners shopping for artificial grass spend their time comparing pile heights, colours and price per square metre. That makes sense, it is the part you can see and touch in a showroom. But ask any experienced installer what actually determines whether a lawn lasts fifteen years or turns into a soggy, lumpy mess within two winters, and they will tell you the same thing every time: it is what goes underneath, not what is rolled out on top.
Artificial grass is only as good as the foundation it sits on. In New Zealand, this matters even more than in drier climates. A lot of our sections, particularly around Auckland, sit on heavy clay soil that holds water and shifts slightly as it wets and dries. Lay turf straight onto that without proper preparation and you will eventually get pooling, sinking patches and an uneven surface that looks tired long before the grass itself has worn out.
A correctly built base does three jobs at once: it drains water away quickly, it stays stable underfoot through wet Kiwi winters, and it gives the turf backing something solid and even to sit on so seams stay flat and edges do not curl.
A quality installation is built in layers, each with a specific job. Skipping or skimping on any one of them is usually where problems start.
The existing lawn, topsoil and any organic material are dug out, typically to a depth of 75 to 100mm for a residential lawn. Organic matter left in the ground will break down over time, causing the surface above it to sink.
A permeable weed matting layer goes down next. It stops weeds pushing up from underneath and prevents the aggregate layer from mixing with the soil below it over time, which would otherwise reduce drainage performance.
A thinner compacted layer, sometimes a fine crushed rock or sand blend, is used to get a smooth, even surface ready for the turf itself. This is where a skilled installer really earns their money, small dips or high spots here will show up under the finished lawn.
For kids’ play areas, home gyms or sports use, an additional shock absorbing underlay is often added beneath the turf for extra cushioning and safety. It is not always necessary for a standard front lawn, but it is worth discussing if the area will get active use.
Only once all of that is in place does the artificial grass itself go down, followed by a silica sand or specialist infill that helps the blades stand upright, weighs the turf down, and adds an extra layer of drainage support. If you want more detail on choosing the right product, see our guide on the best sand infill for artificial grass.
It is tempting, especially for a DIY job or a cut-price quote, to shortcut this process. The results are predictable:
None of these are things you can easily fix once the turf is down. Redoing a poorly prepared base almost always costs more than doing it properly the first time.
Between clay-heavy sections, a wet winter that can run from May through to September in many regions, and UV levels that are among the highest in the world, New Zealand puts artificial grass installations under more pressure than most countries. A well-built base is what allows the surface to shrug off a heavy Wellington downpour or a soggy Waikato winter without turning into a swamp.
As New Zealand’s only local manufacturer of artificial grass installation, TigerTurf’s teams build every base to suit the specific soil and drainage conditions on your section, not a one-size-fits-all approach. Whether you are landscaping a new build or replacing a tired natural lawn, getting this stage right is what determines how your artificial grass performs for the next fifteen to twenty years. If you are planning ahead for the cost of the whole project, our breakdown of the cost of artificial turf installation in NZ is a useful next read.
Ready to get your section assessed properly? Request a free quote and TigerTurf will talk you through exactly what your base will need.
How can we help?
Whether you need a surface solution for sports, leisure, or landscaping, our product range and expertise are second to none. Our experts are with you all the way, from selection to installation to maintenance: we pride ourselves on our exceptional customer service. So, what would you like to do next?